
Last updated November 22, 2026
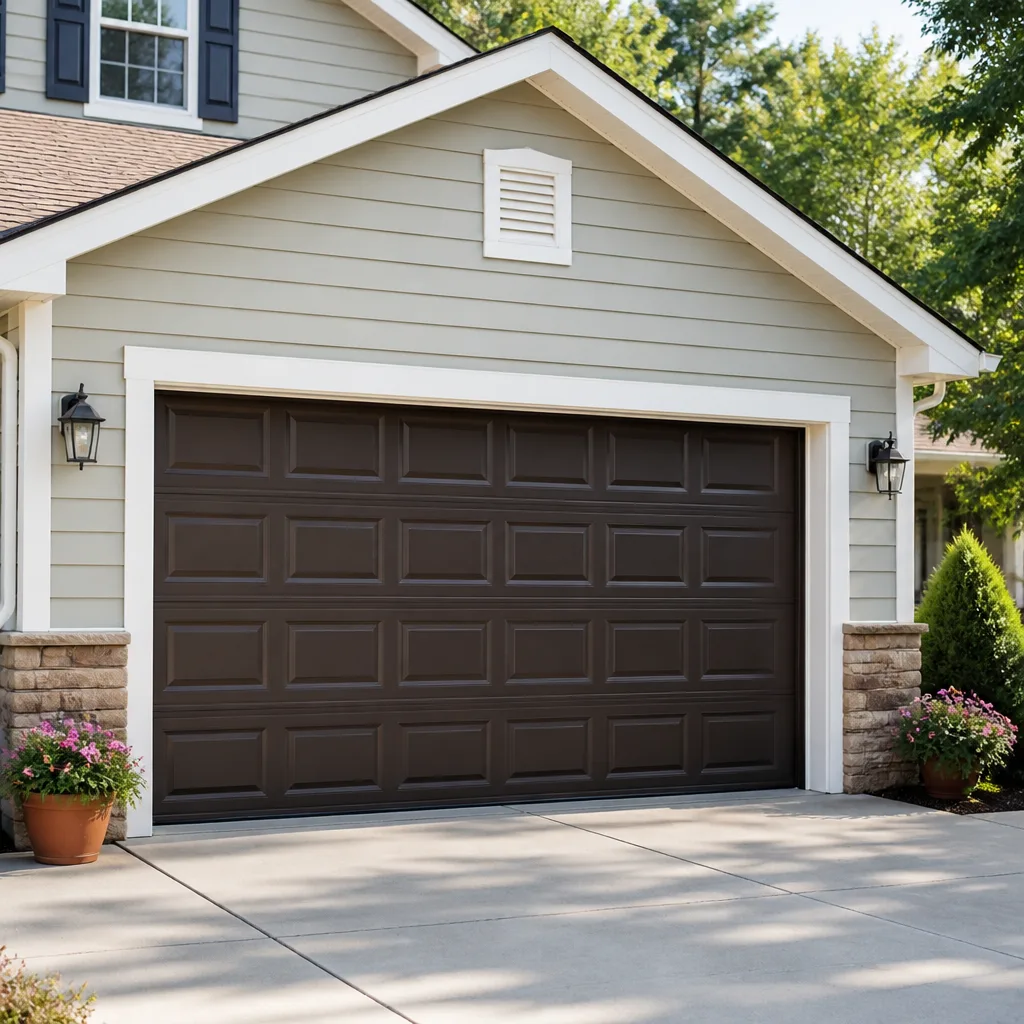 Raised-panel steel
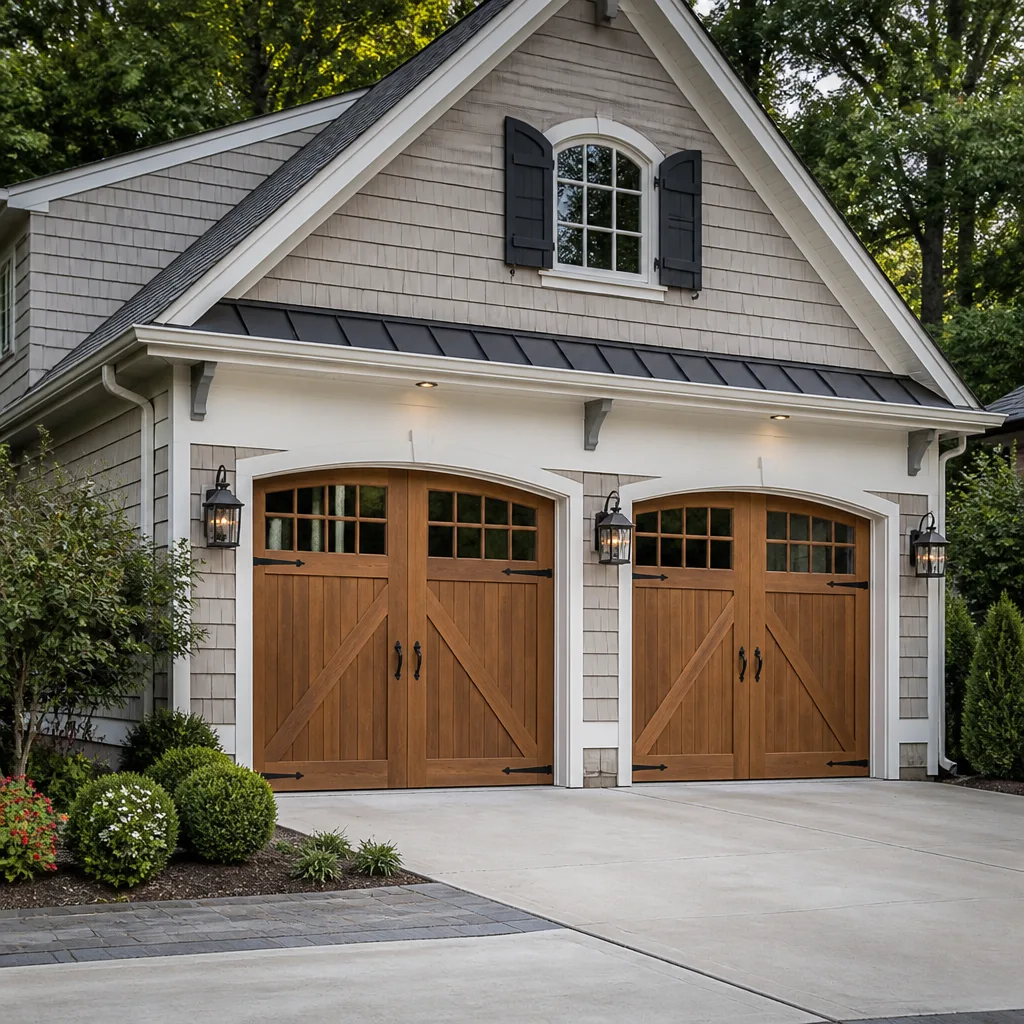 Carriage house
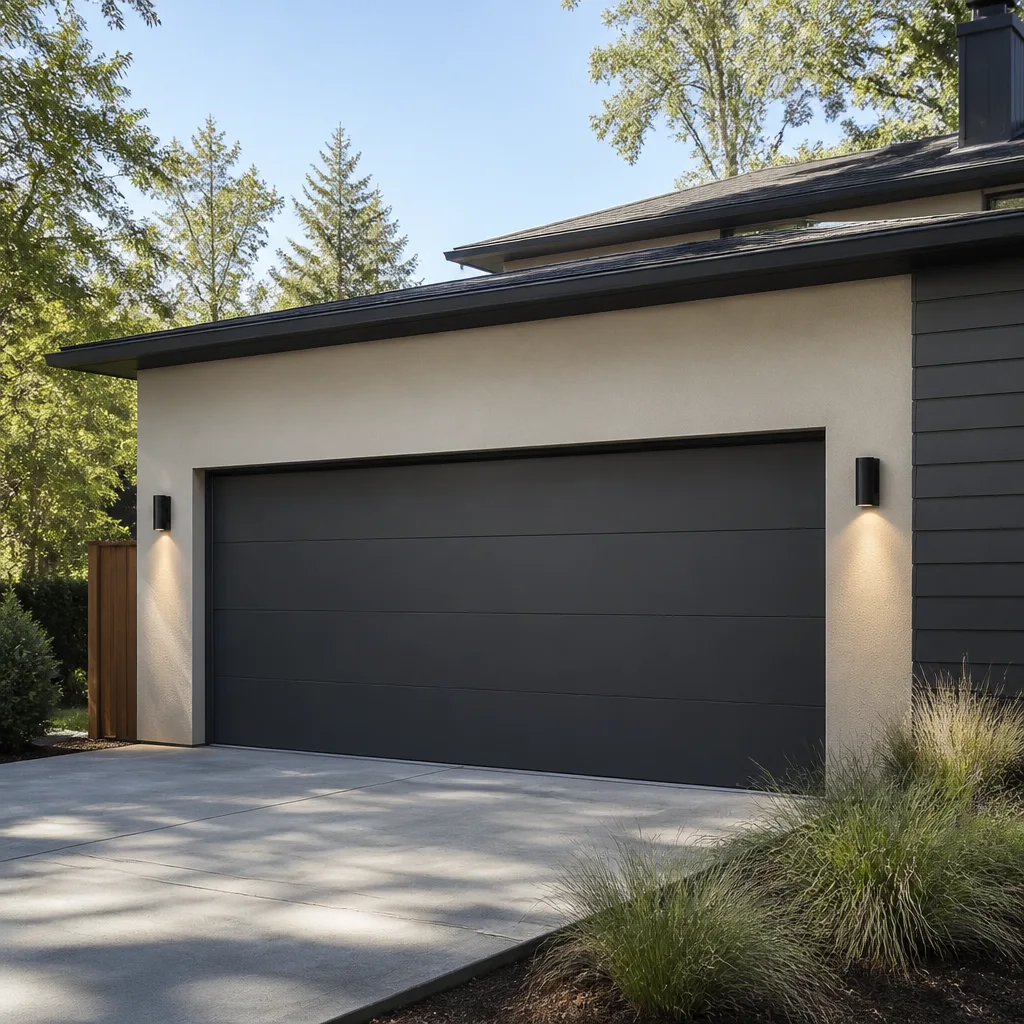 Modern flush
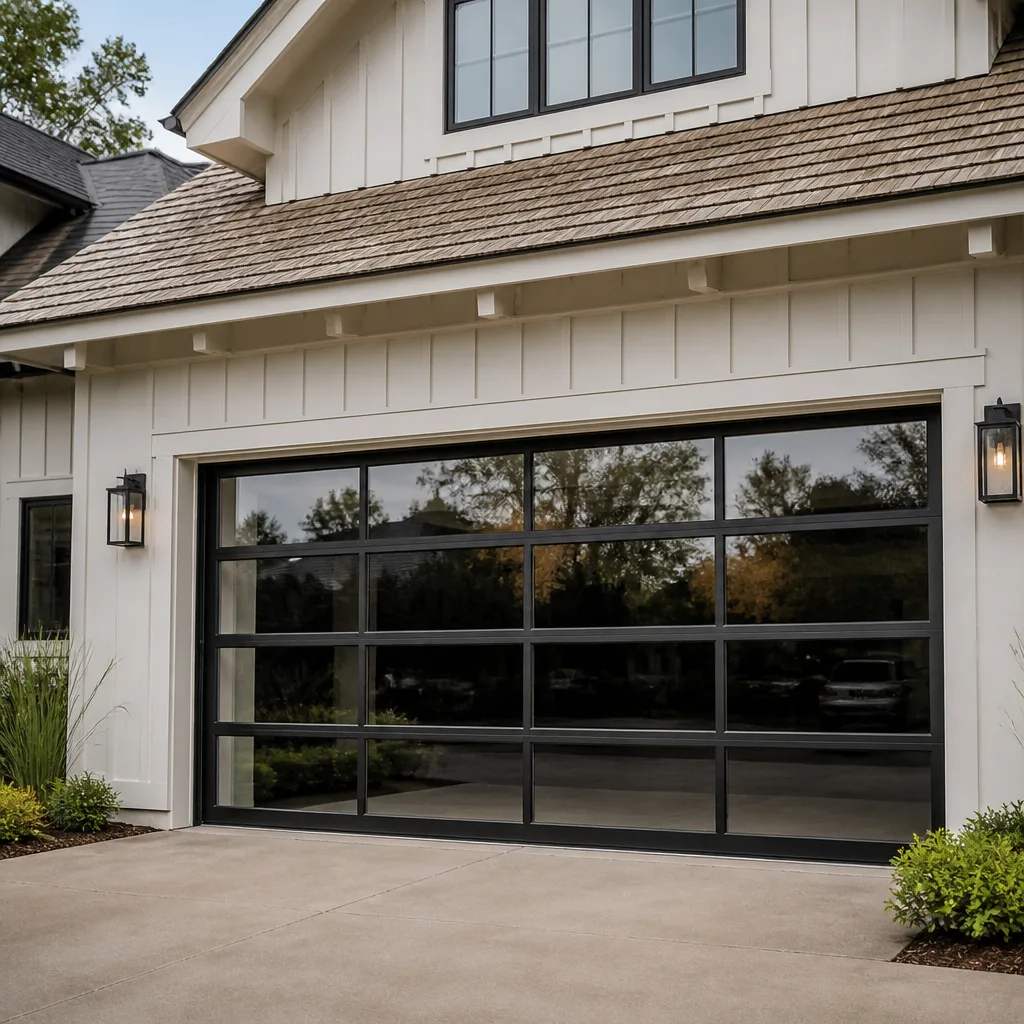 Full-view glass
 LiftMaster openers
 Chamberlain openers
Full 25-point door and opener safety check with every visit - springs, cables, rollers, tracks, and your LiftMaster or Chamberlain opener included
You get a price before we start. It does not change when the pro arrives.
Get your free estimateGarage Door Repair Maintenance Checklist for Vernon Homeowners
The busiest week we have every year is the one right after the first hard freeze, and it’s almost never about a broken spring. It’s about doors that stopped sealing at the bottom sometime in October and nobody noticed until the cold made the gap obvious. Garage door maintenance in Vernon runs on a narrow calendar. Late-summer humidity swells wood panels and softens seals; the first real cold stiffens rubber and shrinks clearances. The window between those two conditions is when the work that actually protects your door needs to happen. This guide gives you a month-by-month checklist, the right lubricant for Connecticut temperature swings, and the ground-level checks that catch wear before it becomes a breakdown. Garage Door Repair Vernon covers the rest.
Styles & brands we work with
- Raised-panel steel
- Carriage house
- Modern flush
- Full-view glass
- LiftMaster openers
- Chamberlain openers
Quick Answer
A workable garage door maintenance checklist for Vernon homeowners has four anchors: a visual and lubrication pass in early fall before cold sets in, a bottom-seal compression test in September and again in April, a spring and cable inspection from the ground every few months, and an annual balance and reversal-safety test. The tasks matter less than the timing. Do them on Vernon’s schedule – ahead of the humidity in August, ahead of the freeze in October – and you avoid the November scramble when weatherstripping and seals are hardest to source.
Table of Contents
- Why Timing Beats the Checklist Itself in Vernon
- The Fall Checklist: What to Do Before the First Freeze
- How to Test Your Bottom Seal Before Cold Weather Locks In Moisture
- The Right Lubricant for Connecticut Temperature Ranges
- Spring Wear: What You Can Safely Check From the Ground
- The Spring Checklist: What to Do as Humidity Builds
- Which Maintenance Tasks Can Affect Your Warranty
- The Two-Minute Monthly Routine
- Common Mistakes to Avoid
- When to Call a Professional
- Frequently Asked Questions
- The Bottom Line
Why Timing Beats the Checklist Itself in Vernon
Most maintenance guides hand you a list and tell you to do it “twice a year.” That advice assumes the seasons arrive politely and evenly. In Vernon they don’t. Summer humidity hangs on longer than it does in the higher elevations to the north, and the cold that follows comes in fast. A door that was adjusted in July can be out of balance by the time the leaves are down, not because anything failed but because the materials around it changed dimension.
Wood and composite panels absorb moisture through the humid stretch and swell slightly. Steel panels don’t swell, but the seals and the plastic and rubber components around them do stiffen once temperatures drop. Neither change is dramatic on its own. Together they shift how the door sits in the opening, how much force the opener needs, and how well the bottom seal contacts the floor.
That’s why the scheduling question comes first:
- Early fall (late September to mid-October): the most valuable maintenance window of the year. You’re working with mild temperatures, seals are still pliable enough to adjust, and you’re ahead of the freeze.
- Late spring (April to May): the second window. This is when you reverse the fall work – check what winter did, clean the tracks, and reset the seal compression for warm weather.
- Monthly the rest of the year: the two-minute routine below, which catches changes between the two big passes.
Homeowners in Vernon who skip the fall window aren’t lazy. They just don’t realize that the cost of waiting isn’t a slightly squeaky door – it’s that by November, the parts you need to fix it are often on backorder. Seals, in particular, are size-specific and seasonally in demand. Adjust the door while parts are easy to get, not after.
The Fall Checklist: What to Do Before the First Freeze
The fall pass is the one that earns its keep. Work through it in order, top to bottom, and note anything that looks off before you touch it.
- Look at the door as a whole, from a few steps back. Are the panels level? Is there a visible gap at one corner? A door that sits crooked usually means a cable, spring, or track issue rather than the panels themselves.
- Inspect the tracks for rust and debris. Run a hand along the inside of each vertical track (door down). Grit, leaves, and small stones collect there. Rust spotting around the bottom of the track is common in Vernon after a wet summer and points to a moisture problem at the threshold.
- Lubricate the moving parts – hinges, rollers, the torsion shaft bearings if accessible, and the springs. Use the correct product (see the lubricant section below). Wipe off excess.
- Test the bottom seal. The compression test below. Do it now, not in November.
- Check the weatherstripping around the frame – the strips on the sides and top. Look for cracks, missing sections, or a strip that’s pulled away from the jamb.
- Test the auto-reverse. Place a solid object in the door’s path and confirm the door reverses on contact. Test the photo-eye safety sensors by blocking the beam with the door closing.
- Test the balance. With the door closed, pull the release cord to disconnect the opener, then lift the door halfway by hand. It should stay put with minimal effort. If it drops or rises on its own, the springs need attention.
- Listen. Run the door up and down and note any grinding, popping, or scraping. A door that was quiet in June and noisy in October is telling you something changed.
That’s a full pass, and most of it takes under an hour. What you’re really doing is establishing a baseline before the cold arrives. Any change you notice in December is easier to interpret against what you recorded in October. If you find something during the fall pass that needs repair rather than adjustment, that’s the moment to schedule garage door repair – well ahead of the first cold snap, not after.
How to Test Your Bottom Seal Before Cold Weather Locks In Moisture
The bottom seal is the most neglected part of a garage door, and in Vernon’s climate it’s also one of the most consequential. A seal that isn’t making full contact lets cold air, meltwater, and small pests under the door. Once the cold locks in, the rubber stiffens and any gap that was borderline in October becomes a real draft in January. Worse, an unsealed threshold holds moisture against the concrete and the bottom of the tracks, which is where rust starts.
The test takes a minute and requires nothing but a flashlight.
- Close the door fully. Make sure nothing is under it and the opener has finished its cycle.
- Go inside the garage and kneel at the door. Shine the flashlight along the bottom edge from one side to the other.
- Look for light. Any visible daylight between the seal and the floor is a gap. Small gaps at the corners are the most common; a uniform gap across the whole width usually means the door needs to come down further or the seal needs replacing. A gap that appears only in one spot points to a floor that isn’t level or a warped seal section.
- Check compression, not just contact. Press the seal gently with a finger and feel whether it compresses against the floor or just sits on top of it. A seal that touches but doesn’t compress won’t hold against wind-driven snow or a hard rain. It needs to be squeezed, not just resting.
- Inspect for cracks and hardening. Bend a corner of the seal. If it feels stiff, cracks, or flakes, it’s past its useful life regardless of how it looks. Rubber and vinyl both harden over time, and Vernon’s freeze-thaw cycle speeds that up.
If you find a gap or a hardened seal in early fall, you have time to replace it before the hard cold. If you wait until the door stops sealing in December, you’re calling when everyone else is too. Sean the seal in September, replace it in October, and the moisture problem at the threshold never gets a foothold.
If the seal itself is fine but the door won’t close evenly, or the gap is larger on one side, that points to a balance or spring issue rather than the seal. Don’t force it closed to “fix” the gap – have the door checked. A door that’s out of balance will wear the seal unevenly within a season.
The Right Lubricant for Connecticut Temperature Ranges
WD-40 is the wrong product for a garage door, and it’s the most common mistake we see. The standard WD-40 formula is a solvent-based water displacer, not a long-term lubricant. It cleans and it temporarily frees things up, but it doesn’t stay put under the load of a moving door, and it attracts dust. Within a few weeks you’ve got a door that’s noisier than before and a fine grit coating on the moving parts.
Connecticut temperature swings make the wrong product worse. A lubricant that’s thin and runny in July can thicken and stiffen by January, which adds drag to the rollers and puts extra load on the springs and the opener. What you want is a product that stays consistent from one season to the next.
- For hinges, rollers, and bearings: a white lithium grease, applied in a thin coat. It holds up over a wide temperature range and stays where you put it.
- For springs and the torsion shaft: a dedicated spring lubricant or a silicone-based spray. These parts carry the door’s weight and need a lubricant that penetrates the coil without being sticky. Never use a heavy grease on a spring – it traps grit that accelerates wear.
- For the tracks: nothing. Tracks should be clean and dry. Lubricant in the track collects debris and gums up the rollers.
- For the seal: a silicone spray, sparingly, helps keep rubber pliable through the cold. Vinyl conditioners can work too, but test a small area first – some soften the rubber past the point where it holds its shape.
Apply lubricant two to four times a year, with the most important application being the fall pass before the cold. Wipe off anything that runs. The door doesn’t need to look greasy to be lubricated; it needs the right product in the right places.
Spring Wear: What You Can Safely Check From the Ground
Torsion springs are under high tension, and extension springs carry the same energy along the horizontal tracks. Both are genuinely dangerous, and this is one area where we don’t give DIY instructions – a spring that lets go while you’re working near it can cause serious injury. A trained technician handles spring work; that’s not a sales pitch, it’s a safety line we don’t cross.
What you can do safely is inspect from the ground, without touching. The goal is to notice wear early enough to schedule service before a spring breaks.
- Look at the coils. From the floor, you can see the torsion spring above the door. A healthy spring has even gaps between coils. A spring with uneven spacing, or one where the coils are touching, is showing wear.
- Check for gaps in the wire. A visible separation anywhere along a torsion or extension spring is a warning sign. Don’t touch it. Note where it is and call.
- Inspect the color. New springs often have a color-coded paint marking. If the paint is worn off or the spring is rust-stained, that’s age and wear showing. Rust on a spring weakens it.
- Listen for the door’s balance. Spring wear shows up as a door that gets harder to lift by hand, or one that won’t stay at the halfway point. If the door’s balance has changed since your last check, the springs are the first suspect.
- Note any sudden noise. A loud bang from the garage followed by a door that won’t lift is the signature of a broken spring. Don’t run the opener trying to force it. Call for service.
If you can see the door is balanced and the springs look even, the door is likely in good shape. If anything looks off, that’s the time to schedule an inspection. Spring repair is a safety-critical procedure, and we handle it that way – slowly, with the right tools, not as a rushed job. If you suspect a spring problem, our garage door spring repair service is the place to start. Catching wear in October is far better than dealing with a broken spring in February.
The Spring Checklist: What to Do as Humidity Builds
The spring pass is the mirror image of the fall pass. As the weather warms, the door’s moving parts shift again, and the work you did in October needs revisiting. Do this pass in April or May.
- Clean the tracks of any grit, salt residue (from winter road spray tracked into the garage), and leaves. A damp cloth and a dry finish. No lubricant in the tracks.
- Re-lubricate the hinges, rollers, and springs with the same products from the fall. The winter cold pushed some of it out; this pass replaces it.
- Re-test the bottom seal. The compression you set in October may have relaxed over winter. Adjust or replace as needed before the warm, wet stretch.
- Check the door for panel swelling – mostly relevant to wood doors. Run a hand along the bottom and sides of each panel. Any soft spots, bubbling paint, or visible separation point to moisture intrusion that needs attention before summer.
- Test the auto-reverse and photo-eye sensors again. These are safety systems, and they’re worth testing every few months.
- Test the balance. Same disconnect-and-lift test as in the fall. If the door won’t stay at halfway, the springs have shifted with the seasons.
- Wipe down and inspect the opener – if you have a LiftMaster, Chamberlain, or Craftsman unit, check the manual for the model-specific maintenance items. A worn drive belt or a chain that needs tensioning will show up as a door that hesitates or reverses on its own.
If the opener is showing symptoms – a door that reverses on its own, a remote that needs repeated presses, or a motor that sounds labored – that’s a diagnostic issue, not a maintenance one. We work on the four major opener platforms and can identify the right part for your specific model before anything is ordered. That’s the difference between a repair that lasts and one that repeats. Our garage door opener repair service handles that diagnosis.
Which Maintenance Tasks Can Affect Your Warranty
Manufacturer warranties on garage doors and openers generally require reasonable maintenance, and some tasks are specifically called out as conditions of coverage. We work on doors and openers from Clopay, Amarr, Wayne Dalton, Raynor, LiftMaster, Chamberlain, Genie, and Craftsman, and while the details vary by brand and model, the pattern is consistent.
What typically voids or limits coverage:
- Improper lubrication. Using the wrong product (WD-40 or a heavy grease on springs) or applying it to the tracks can void parts of a warranty on the grounds of improper maintenance. The manual specifies what to use; follow it.
- DIY spring or cable work. Replacing or adjusting springs without training is dangerous and typically voids the warranty on the springs and related components. It’s also the most common cause of injuries in this trade, which is why we treat spring work as a professional-only task.
- Skipping the balance test. A door that’s out of balance puts stress on the opener, and openers that fail under that stress can be denied warranty claims on the grounds that the door wasn’t maintained.
- Painting or refinishing panels incorrectly. For steel and wood doors, the wrong finish or an improperly prepared surface can void the finish warranty. The manufacturer’s instructions specify the process.
- Running the door with a known fault. Forcing an opener to lift a door with a broken spring or a jammed track can void both the opener and the door warranty.
The flip side is that documented, correct maintenance protects your coverage. Keep a simple log – date, what you did, what product you used – and you’ll have a record if a claim ever comes up. When maintenance turns into repair, we log what we did for the same reason.
The Two-Minute Monthly Routine
The two big passes do most of the work, but the monthly routine catches the changes in between. It’s genuinely two minutes.
- Open and close once, slowly, and listen. Any new noise is worth noting.
- Look at the bottom seal. A quick visual check for a gap or a section that’s pulled away.
- Test the auto-reverse. Block the door with an object and confirm it reverses.
- Wipe the photo-eye lenses. Dust and spiderwebs are the most common cause of a door that won’t close.
- Glance at the springs from the ground. Anything that looks different from last month, note it.
That’s it. The value is in the consistency, not the depth. A door that’s checked monthly rarely surprises you, and the surprises it does produce are small ones.
Common Mistakes to Avoid
- Using WD-40 as a door lubricant. It’s a water displacer and a light solvent, not a long-term lubricant. It frees a stuck part temporarily and then attracts grit. Use white lithium grease on the hinges and rollers and a spring-specific product on the springs.
- Lubricating the tracks. Tracks should stay clean and dry. Lubricant in the track collects debris and causes the rollers to drag. If the door runs rough, the problem is usually a roller or a track alignment issue, not a lack of grease in the track.
- Adjusting or replacing springs yourself. Torsion and extension springs are under high tension. This is the single most dangerous task on the door, and it’s not a job for a homeowner, no matter how confident you are. Leave spring work to a trained technician.
- Waiting until November to check the seal. By the time the cold makes the gap obvious, weatherstripping is in high demand and often backordered. Test in September, replace in October.
- Forcing a door with a broken spring. Running the opener repeatedly against a broken spring can damage the opener, the door panels, and the cables. Stop and call.
- Skipping the quarterly visual and thinking the door is fine. Most garage door failures give warning signs weeks or months ahead of the breakdown. The visual pass is how you catch them.
- Ignoring a noisy door in the fall. A door that gets louder as the weather cools is telling you something – usually a lubrication issue or early spring wear. Address it in the fall pass, not in January.
When to Call a Professional
Some maintenance tasks are homeowner jobs. A few aren’t. Call a professional when the door is out of balance, when you see wear on a spring or cable, when the door won’t fully close or seal evenly, or when the opener is behaving unpredictably – reversing on its own, straining, or needing repeated presses. Also call if the door is visibly crooked, if a panel is damaged, or if you hear a bang from the garage and the door won’t lift.
If a door fails on a Saturday, we’re closed that day, but call and we’ll book you for Sunday. Garage Door Repair Vernon offers free estimates in Vernon – call (877) 492-3186. We answer 24/7. Fast dispatch from 7am to 7pm, Sunday through Friday. Every price is quoted and agreed before any work starts, and the written estimate is the number you pay.
Frequently Asked Questions
Twice a year for the full checklist – once in early fall before the cold sets in, and once in late spring – plus a two-minute monthly check. Vernon’s humidity and cold arrive close together, so the fall pass is the most important one. Doors that are used heavily, or that are older, benefit from a professional inspection annually as well.
No. WD-40 is a water displacer, not a long-term lubricant. It frees a stuck part temporarily but doesn’t stay put under load and attracts dust. Use white lithium grease on hinges and rollers, a spring-specific product on the springs, and nothing at all in the tracks. If the door runs rough, the issue is usually a roller or spring, not a lack of lubricant.
Test it in September. If there’s a visible light gap, if the seal doesn’t compress against the floor, or if it’s cracked or stiff, replace it in October, before the cold makes the rubber harder. Replacing the seal in the fall prevents moisture from getting a foothold at the threshold, which is where rust on the tracks begins.
You can inspect them from the ground, without touching. Look for uneven coil gaps, visible separation in the spring wire, rust, and worn paint. Listen for changes in the door’s balance. If anything looks off, stop and call – a trained technician handles the repair. Spring work is a safety-critical procedure, and it’s not a DIY job.
Improper lubrication, DIY spring or cable work, forcing the door with a known fault, and incorrect painting or refinishing can void coverage on some components. The exact rules vary by manufacturer and model, and the manual for your specific door or opener specifies the requirements. When in doubt, have the maintenance handled by a technician and log what was done.
Yes. We handle repair, opener repair, spring repair, and installation for residential properties, and property managers and landlords responsible for maintaining garage systems can schedule a maintenance visit the same way a homeowner can. Call (877) 492-3186 for a free estimate – estimates are free, and the written price is set before any work starts.
The Bottom Line
Garage door maintenance in Vernon works best when it’s timed to the actual stresses the door faces. The fall pass – seal test, lubrication, balance, and reversal check before the cold – prevents most of the breakdowns we see. The spring pass reverses that work after winter. The monthly check catches changes in between. The two things most homeowners get wrong are using the wrong lubricant and waiting to test the seal until it’s already a problem. Do the work on the calendar, not on the failure, and the door takes care of itself for years. When maintenance becomes repair, call (877) 492-3186 for a free estimate.
Written by the team at Garage Door Repair Vernon.
See the difference
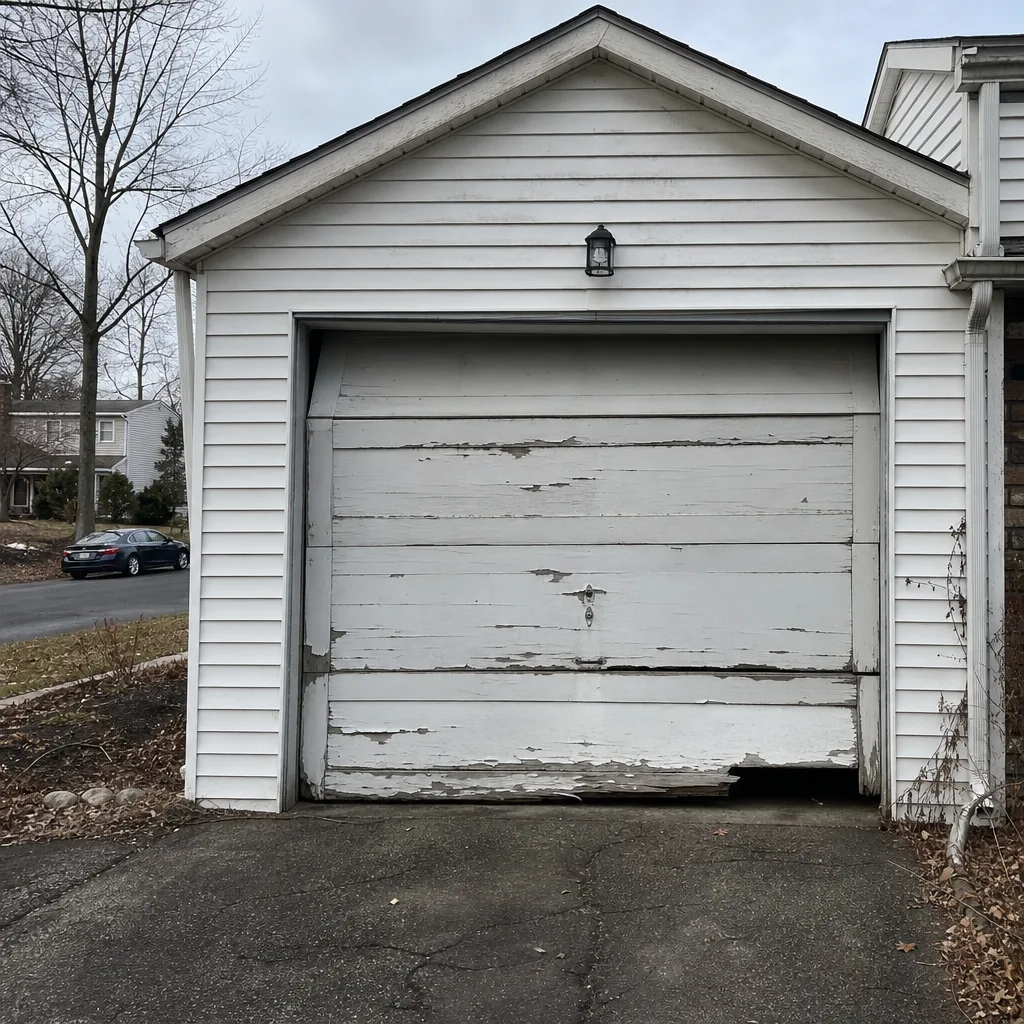 Before
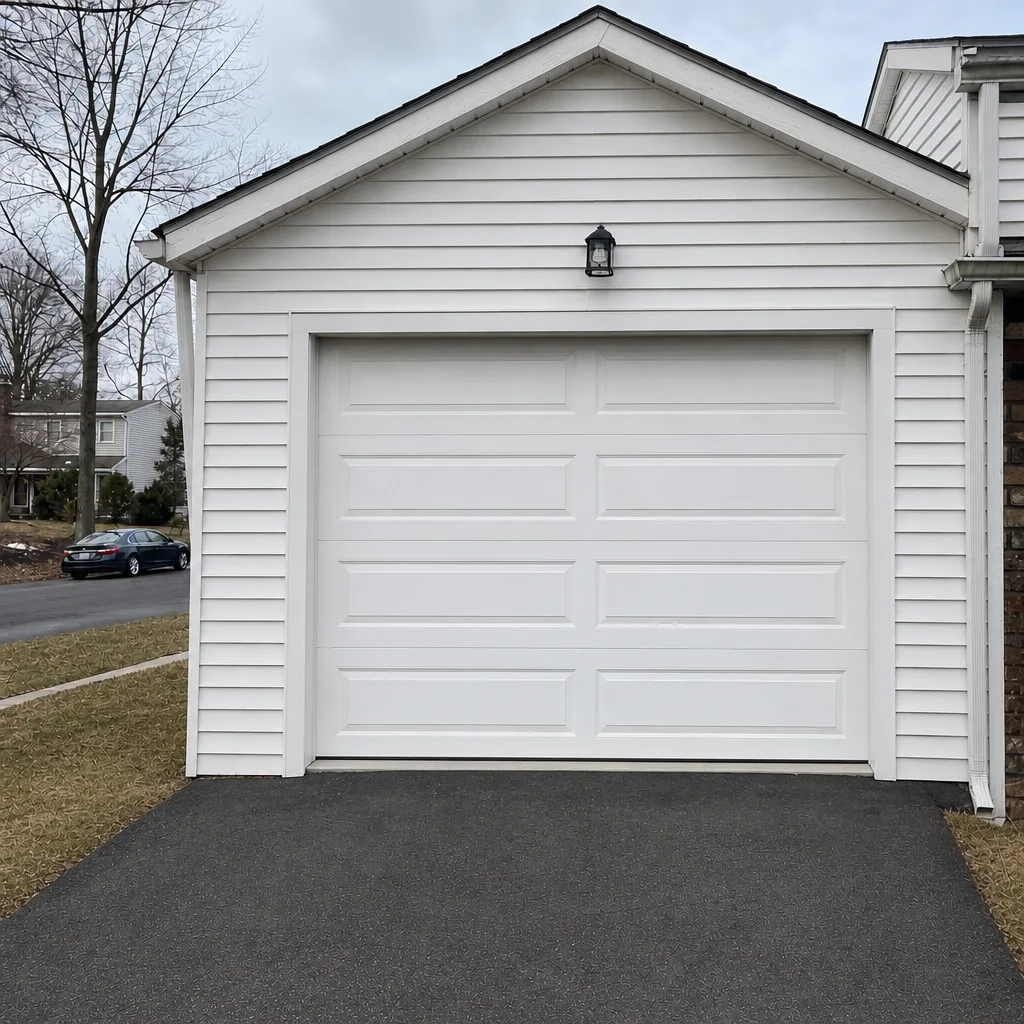 After
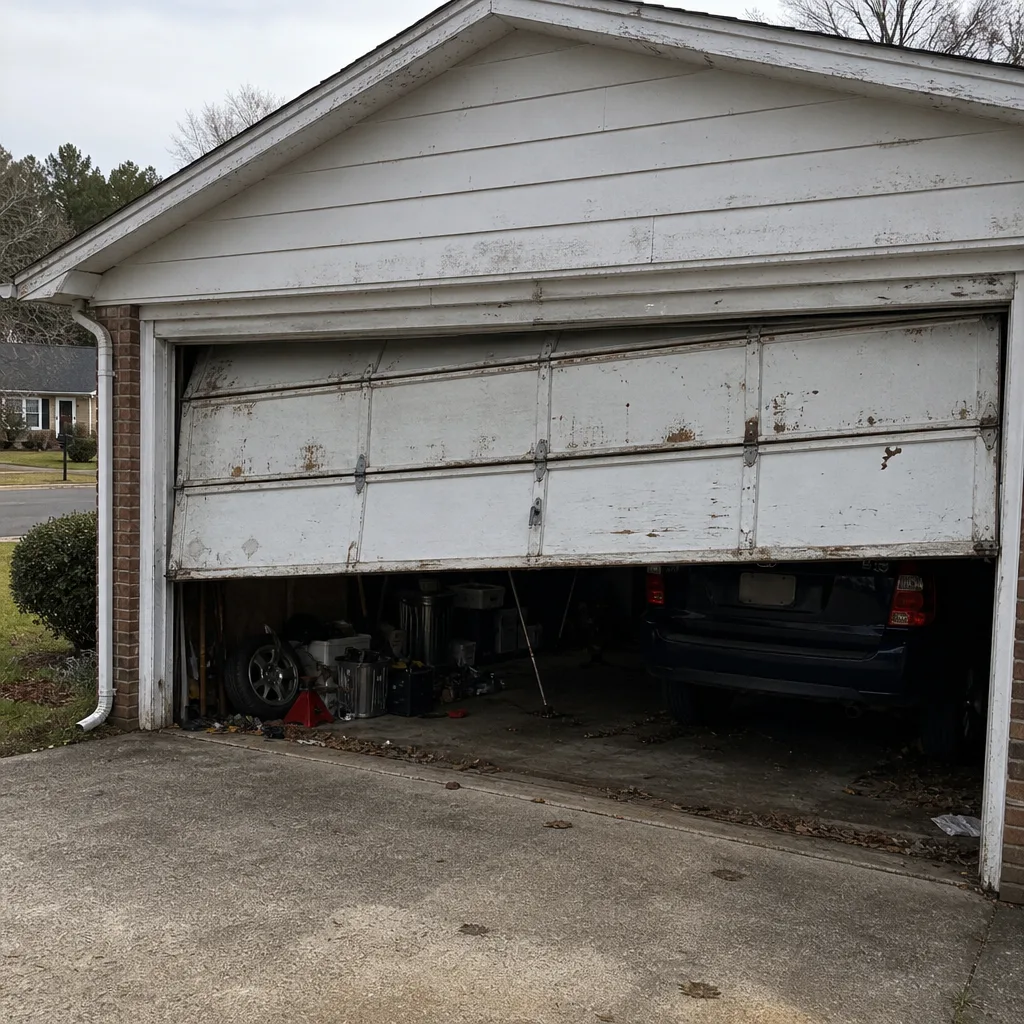 Before
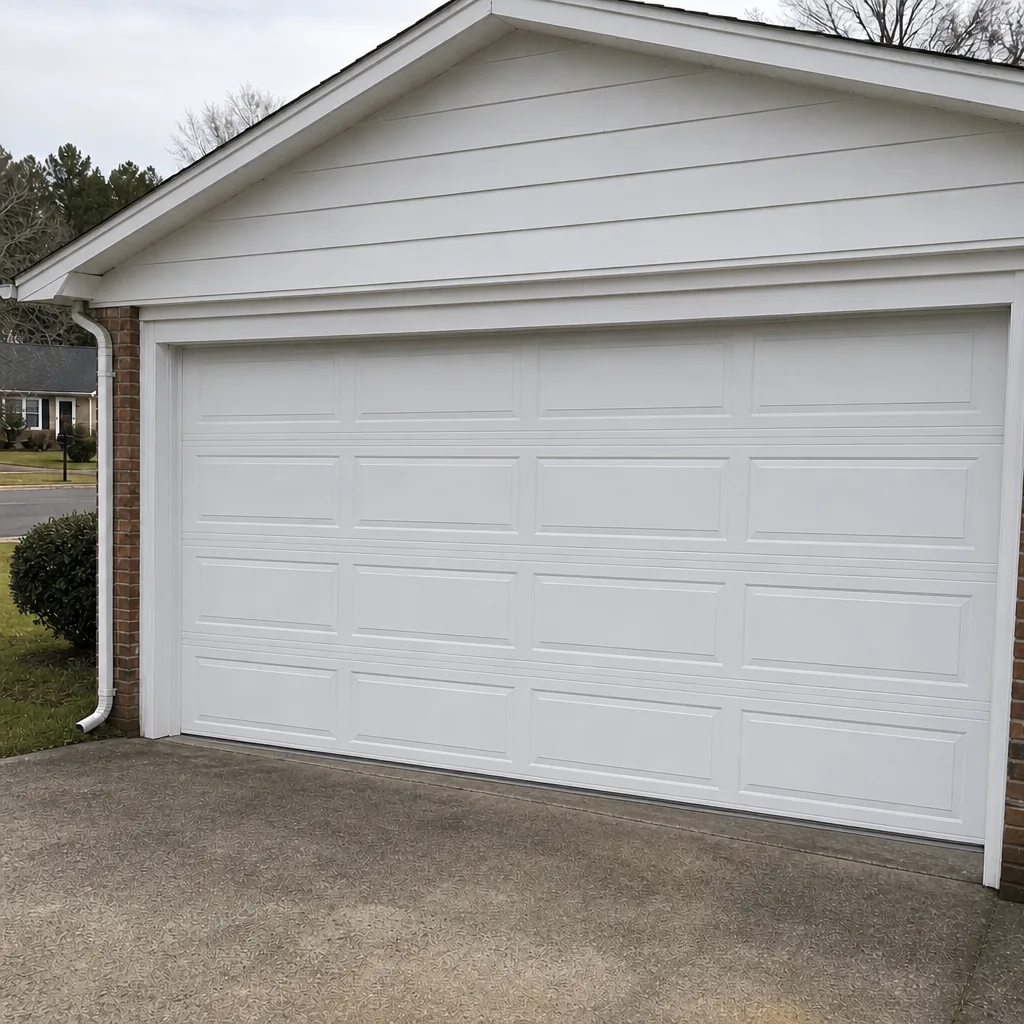 After
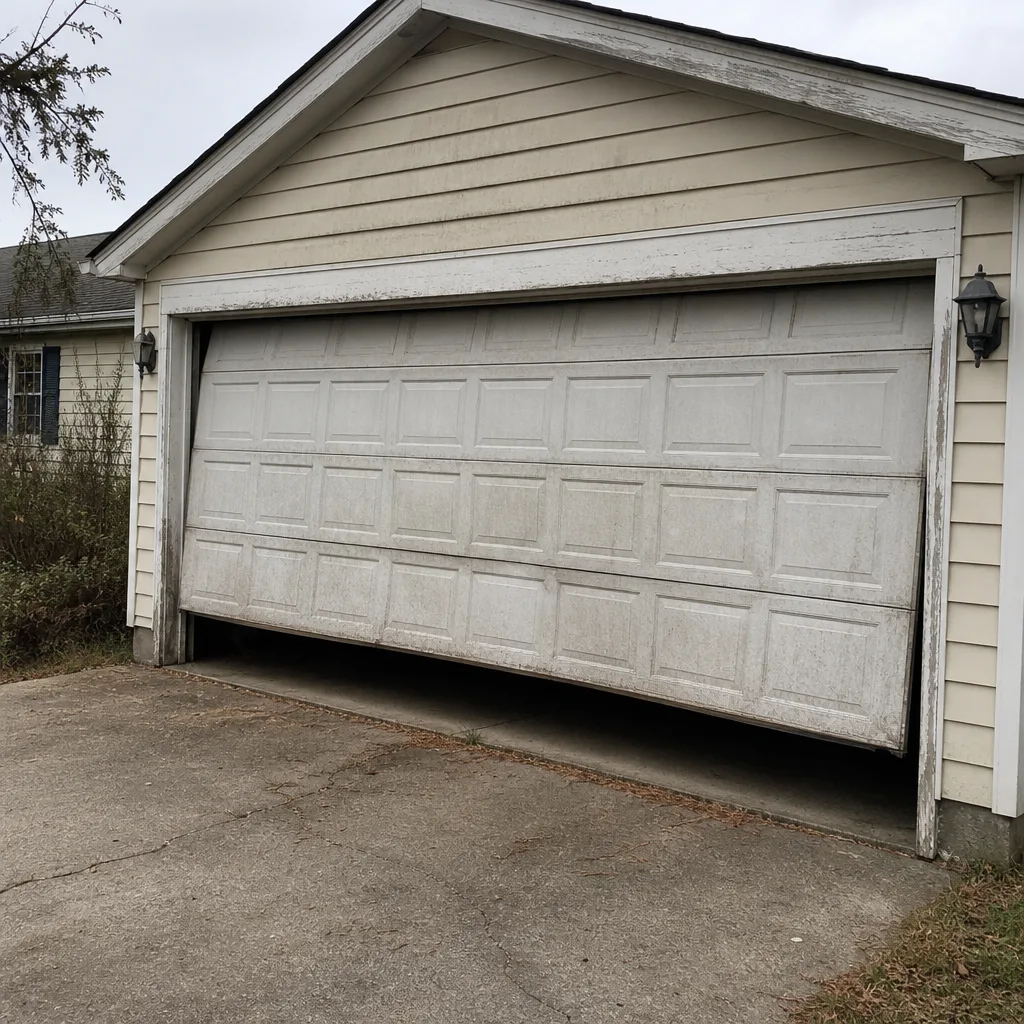 Before
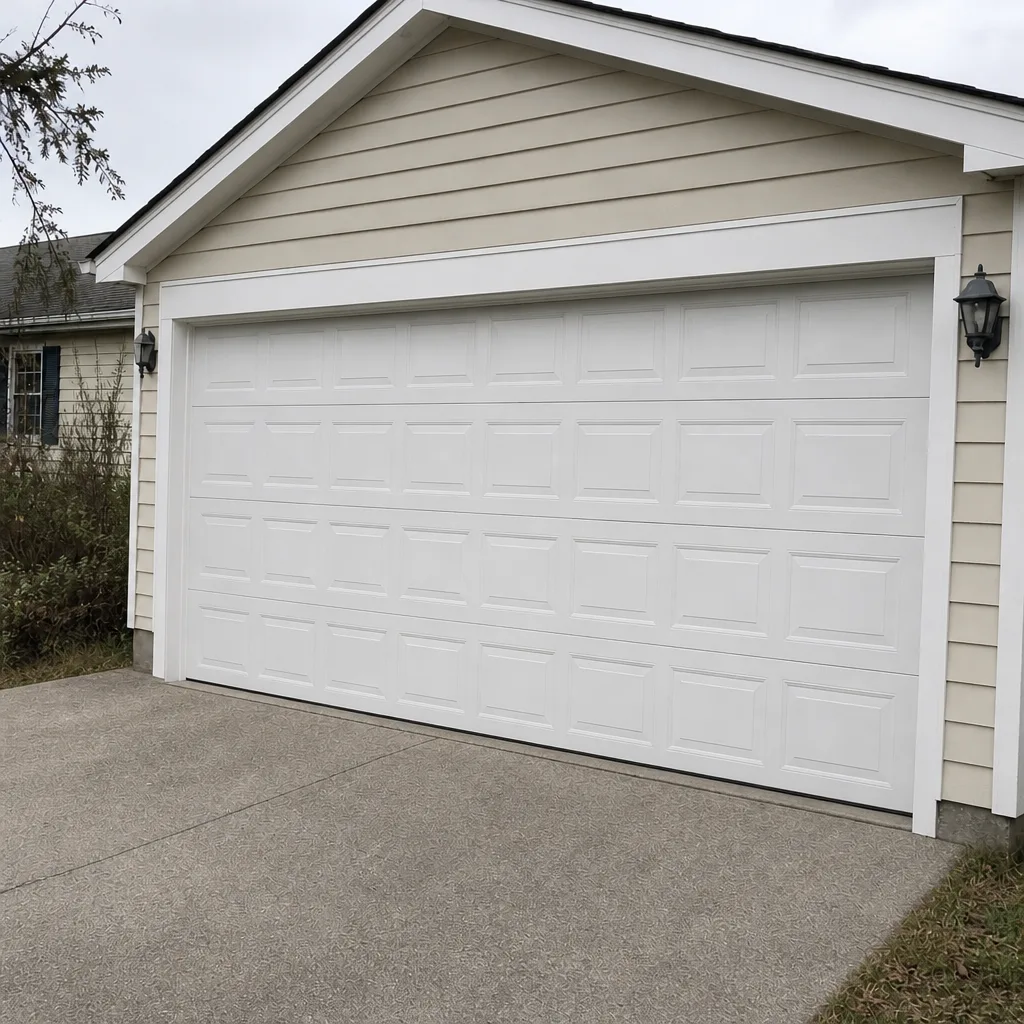 After